
The Astral Plane Multi-Tier Build
Doing adventures on other planes is exciting for me. I want it to feel extraordinary and I want there to be special rules for these places. That means memorizing and codifying a whole OTHER set of rules. Right?
Sort of. Manual of the Planes (despite its many errors and contradictions) is a valuable book of ideas and a great jumping-off point. It will get you headed down the road and allow you to improvise in a pinch.
Because Manual of the Planes does a terrible job of delivering organized (and non-contradictory!) information, I like to mine the text and pull out the parts that make for good mechanics. I did this with the Astral Plane as you can see below:
Though too terse to communicate full intent, these charts remind me of more extensive mechanics
The Astral Plane is Zero-G, whereas the Ethereal is a gravity-relative plane where objects in motion do NOT stay in motion unless they are sentient or magical. In both cases, however, attack from above, below and all other directions is possible.
My first stab at doing this right was to buy a few sets of Tinkered Tactics Combat Tiers that were sold through Paizo. I did this some years ago.
These are high-quality and highly recommended. I use them even with heavy metal minis like dragons. This is still risky because the plastic is slick and anyone bumping the table or moving a hand carelessly will cause major damage to such miniatures.
Nevertheless, we do it and so far, no catastrophes in 4 years.
Looks like Combat Tiers can still be had over here. You should buy some and no, I am in no way related to the folks that sell/make the product.
Still, Combat Tiers are a bit fiddly and risky for larger battles, especially the type you expect on the Astral and Ethereal Planes. So I set off to make something better that would also interface nicely with Combat Tiers.
My first mistake was to order my acrylic from Amazon. A rip-off of the grossest variety w/ a bill for the sheets at roughly $54 each and the rods at around $13 each! Those prices were "PRIME" prices! Compare this to the $20 per sheet and $7 per rod from my local store: Austin Plastic Supply. Needless to say I returned/canceled all orders through Amazon and went with local plastic. Total bill including cement was roughly $130. Not cheap, but I have a bunch of metal minis with many hours of paint, so I want to make sure this thing is sturdy.
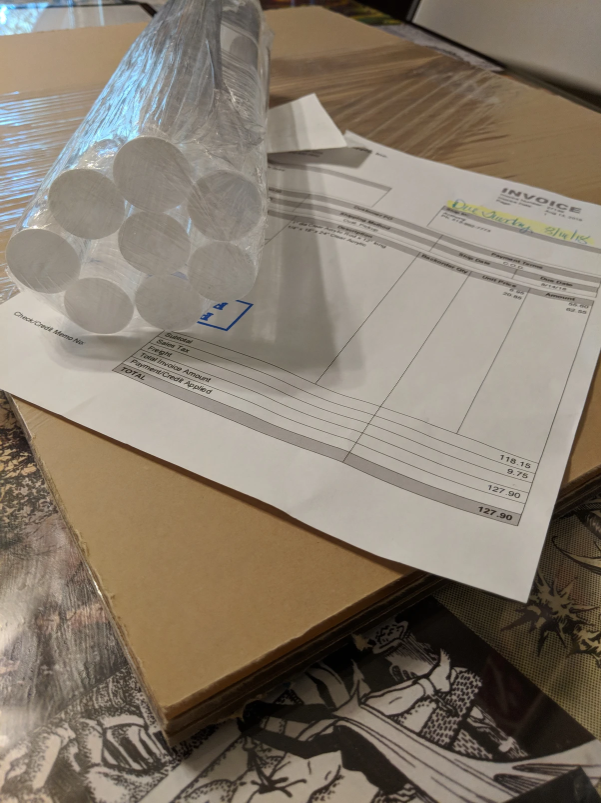
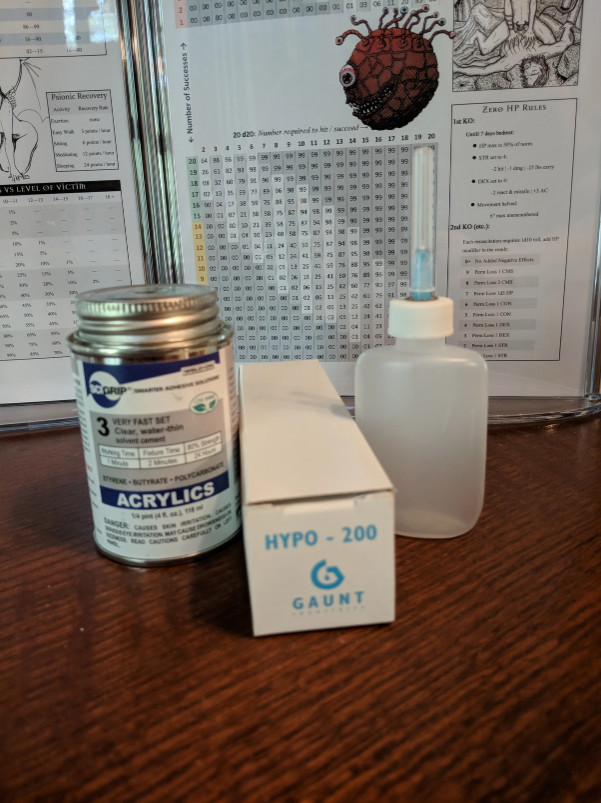
In addition to the acrylic, I bought fast cement, an applicator, some anti-scuff pads and the Elmer's silver paint markers for making the grid:
The reason for the felt pads is that the silver grid will be on the BOTTOM of each plane. I don't want moving minis to scratch the lines off. The pads will elevate the lowest plane above the table surface and protect the grid.
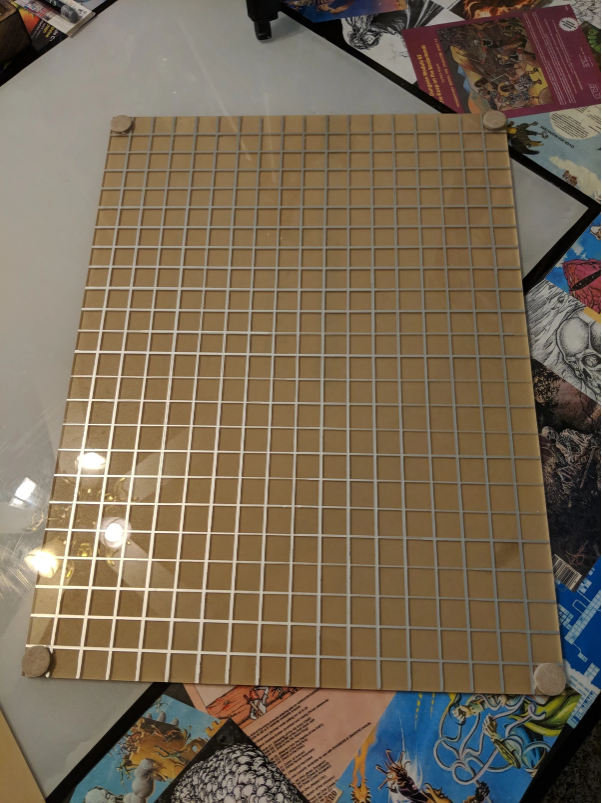
Now to start making lines!
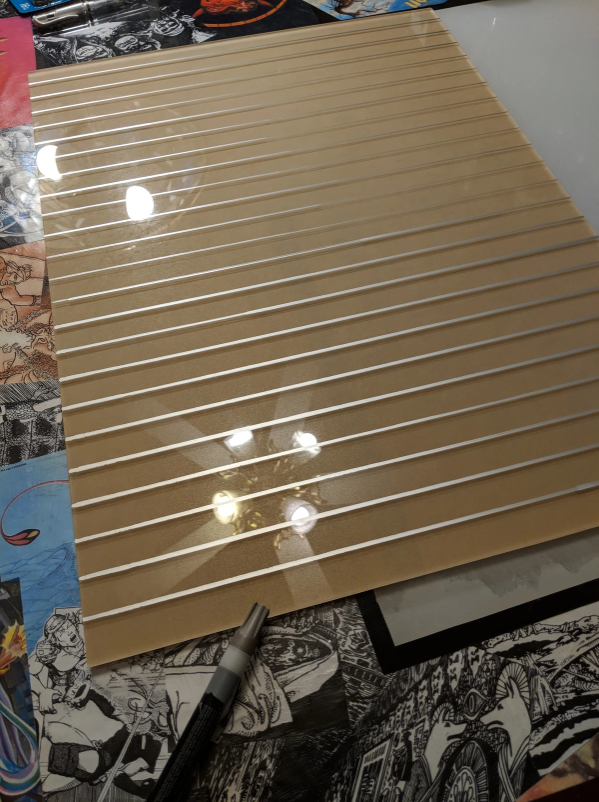
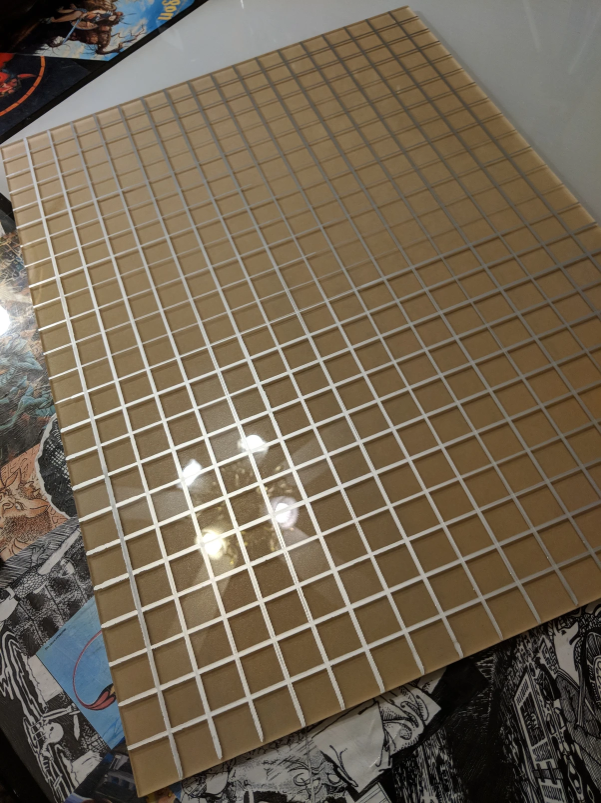
I'm gambling on this because I'm hoping that when I cement the legs, the lines don't get too messed up where the plastic rod meets the sheet. If I put the legs on first, there'd be no way to get the grid perfect on the underside of the sheet. My guess is that there will be some bleed but hopefully not a ton. We'll see if my bet pays off...
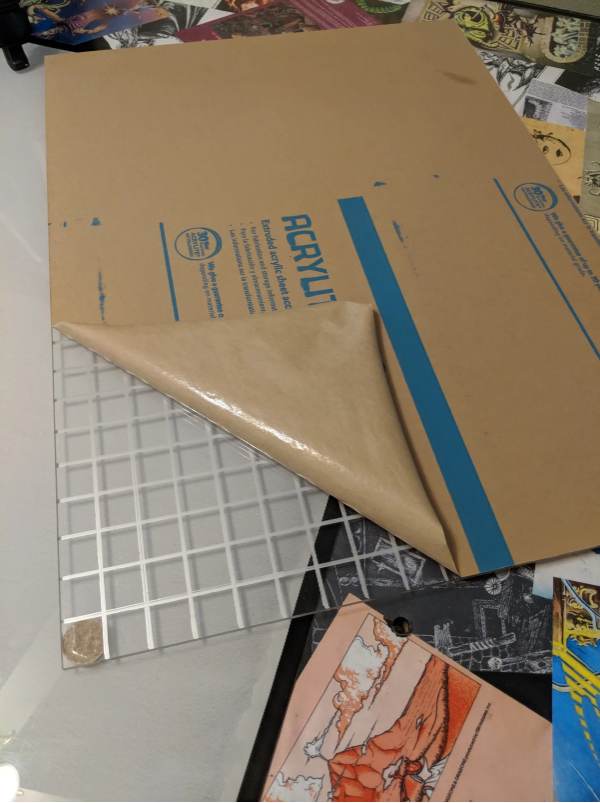
Here I'm putting the felt pads on and peeling off the final protective film for assembly. After that, I enlisted my wife and daughter to help hold the acrylic rods in place while I applied the super-fast #3 cement. I was really happy because there was NO running or smudging of the silver grid! Note that I assembled in the garage and NOT on my Plexiglas gaming table!
Here's the assembled combat platform:
And here it is combined with my official Combat Tiers, showcasing a fictitious battle of improbable/random flying creatures!
Obviously I can lay down a grass mat and some hills and use this for regular outdoor aerial combat too. My flying dragon attacks are going to be a lot less stressful since I can place the big heavies on the main platforms.
Hope you enjoyed.